Are you looking for a fun way to incorporate solar power into your outreach events? I ran across a robotic kit from Edmund Scientifics called Solar Space Fleet and had a blast using it at my last outreach event.
Per their webpage –
Transform and Power Your Own Space Command
The Solar Space Fleet Kit is an innovative solar powered science kit that can transform into seven different lunar modules and energized via direct sunlight or micro rechargeable battery.
For just under $26.00, the kit includes an easy-to-follow, 46-page instruction manual, decals, a solar panel, rechargeable battery, battery module and all the parts to build 7 different robots. Not included are AAA batteries (2 are needed for the battery module when not using solar energy), a utility knife and/or diagonal cutters to remove burrs before assembly, and little helpers keen to assist you!

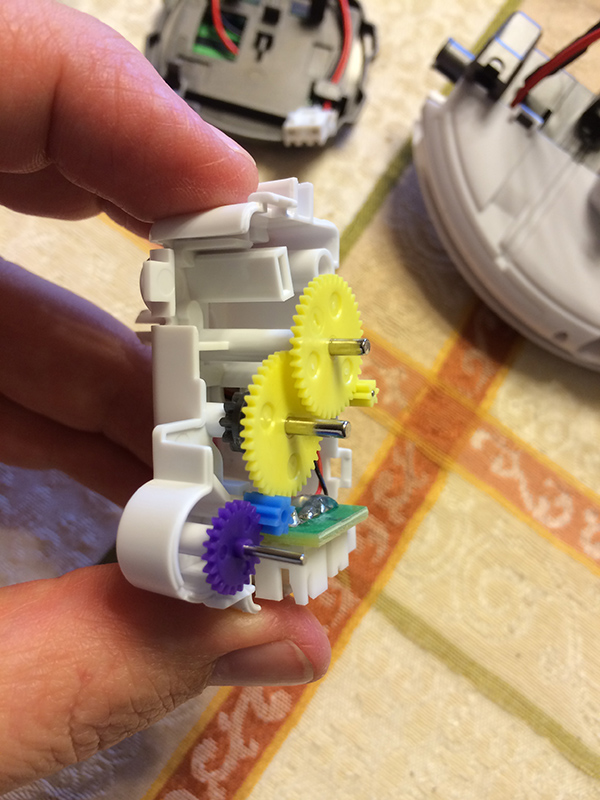
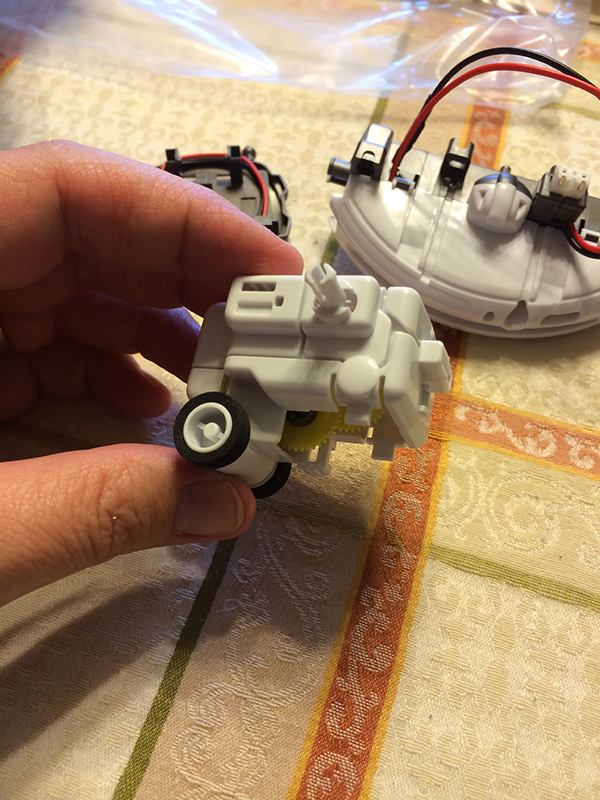
First up is assembling the landing gear, front wheel, solar module and battery module. Next are the gear boxes.
-

- Inside view of upper gear box
-
- Assembled upper gear box
-
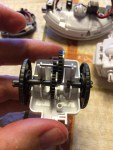
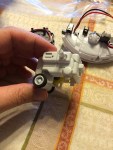
- Inside view of lower gear box

-

- Assembly of both gear boxes

-
- Rechargeable batter connected to battery module

-

- Rechargeable battery connected to solar panel

-
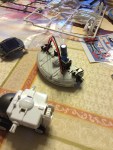
- Assembled gear boxes, battery module, solar panel and landing gear

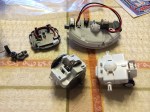
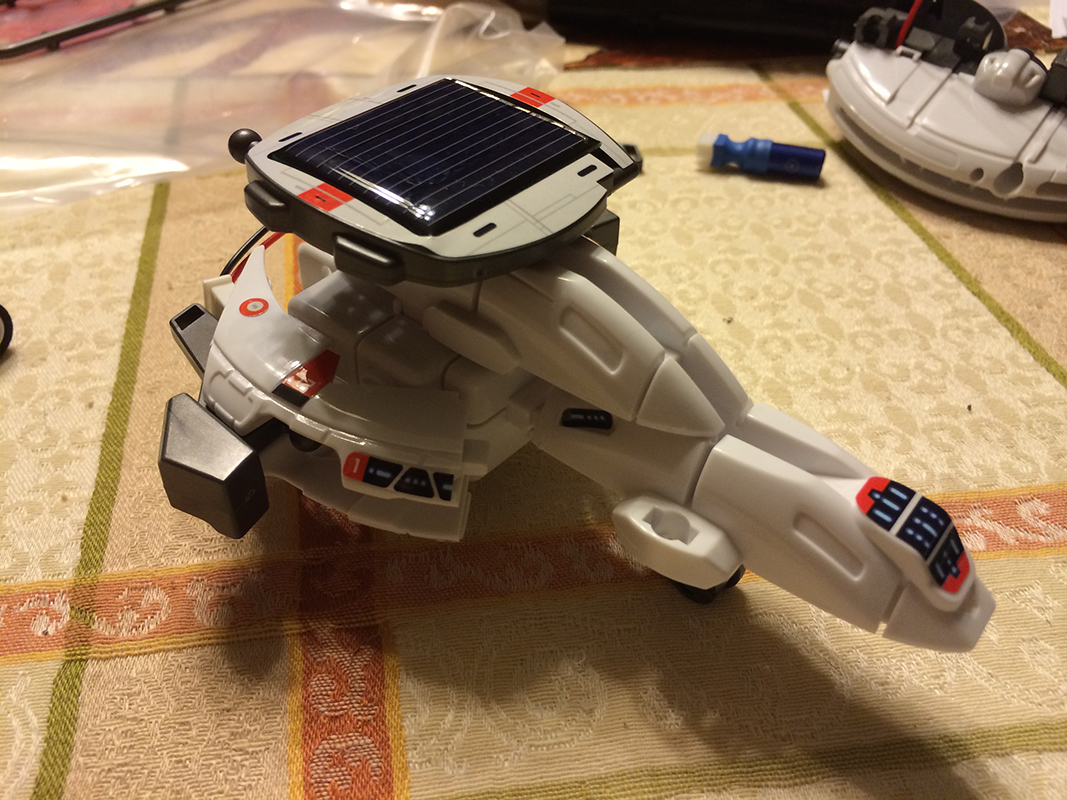
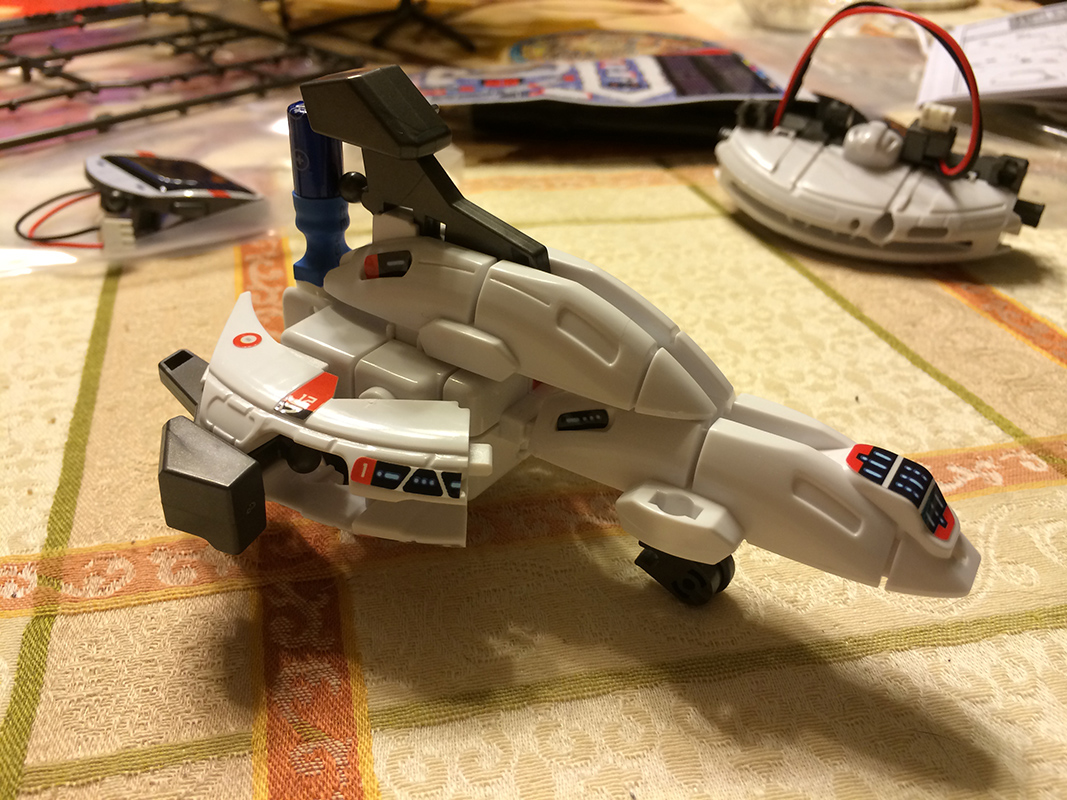
The individual robots share parts, so each will need to be disassembled before building another module. A few examples are shown below. The robots’ actions vary with each module: spinning, turning, walking, or rolling forward.
-

- Space Dog with the solar panel

-

- Space Shuttle with the solar panel
-
- Space Shuttle with the rechargeable battery
-
- Space Explorer sans the power sources that go on top

Edmund Scientifics has several educational toys to choose from that are geared for alternative energy. Make sure to check them out and see what you’d like to include in your outreach program!